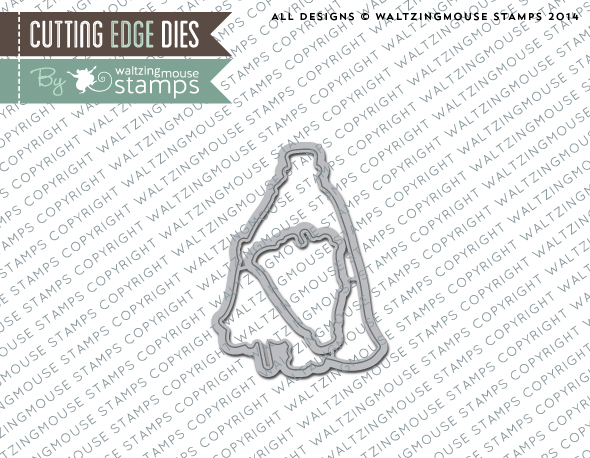
The Count Die set
The Halloween Party Witch die set
Ocean Bound Anchors
Ocean Bound Ships and Wheels
I went ahead and popped them in-store this morning because quite frankly our next release is too big already... there will be more info on this in our newsletter which will go out shortly.
If you look close at The Count's cape, you will see that the wee clasps are actually silver metal - I discovered that the flat ends on some jewellery findings I had stashed away were the exact perfect size and so I snipped them off and stuck them on the card - I have a couple of little tips for this below if you plan on doing something similar.
I used one of those long pins, with a flat head - you can see that I have a dark copper one laying here on the red foam beside a die cut of The Count
After I place the pin in the pliers and BEFORE I snip, I place a piece of sellotape over the flat pin head - this stops the flat head pinging off into oblivion when you snip.
Once you have snipped, your flat metal pin head will be easily located on the sellotape, take it from there with a pair of tweezers and apply to the counts lapels. The flat head may well have a little stalk still attached and so it's a good idea to pierce the image with a pin to give the stalks something to bed into. I pierced, then applied glue to the image and then pushed the little metal pieces into the image, I was able to wipe away excess glue before it dried. I recommend a very strong glue for this.
Hope it tickles!


I haven't crafted much with so much going on over the last few months but I'm excited at the prospect of a new release YAY! It may just be the kick start I need Claire and new stamps never hurt huh?
ReplyDeleteSo nice to see the new dies!
ReplyDeleteDid someone say there would be a new release soon?! I love the ocean bound dies and can't wait to see what else you have up your sleve!
ReplyDeleteLoving the new Count die!!! Hope to get one.
ReplyDeleteCant wait! Off to get my dies!
ReplyDeleteVery happy for the Ocean Bound dies! Looking forward to the new release!
ReplyDeleteGreat looking card Claire!! I can't wait to see what is up with your new release!! :-) Hugs!!
ReplyDeleteA big release coming - yippee !!!
ReplyDelete